Search for answers or browse our knowledge base.
General Settings
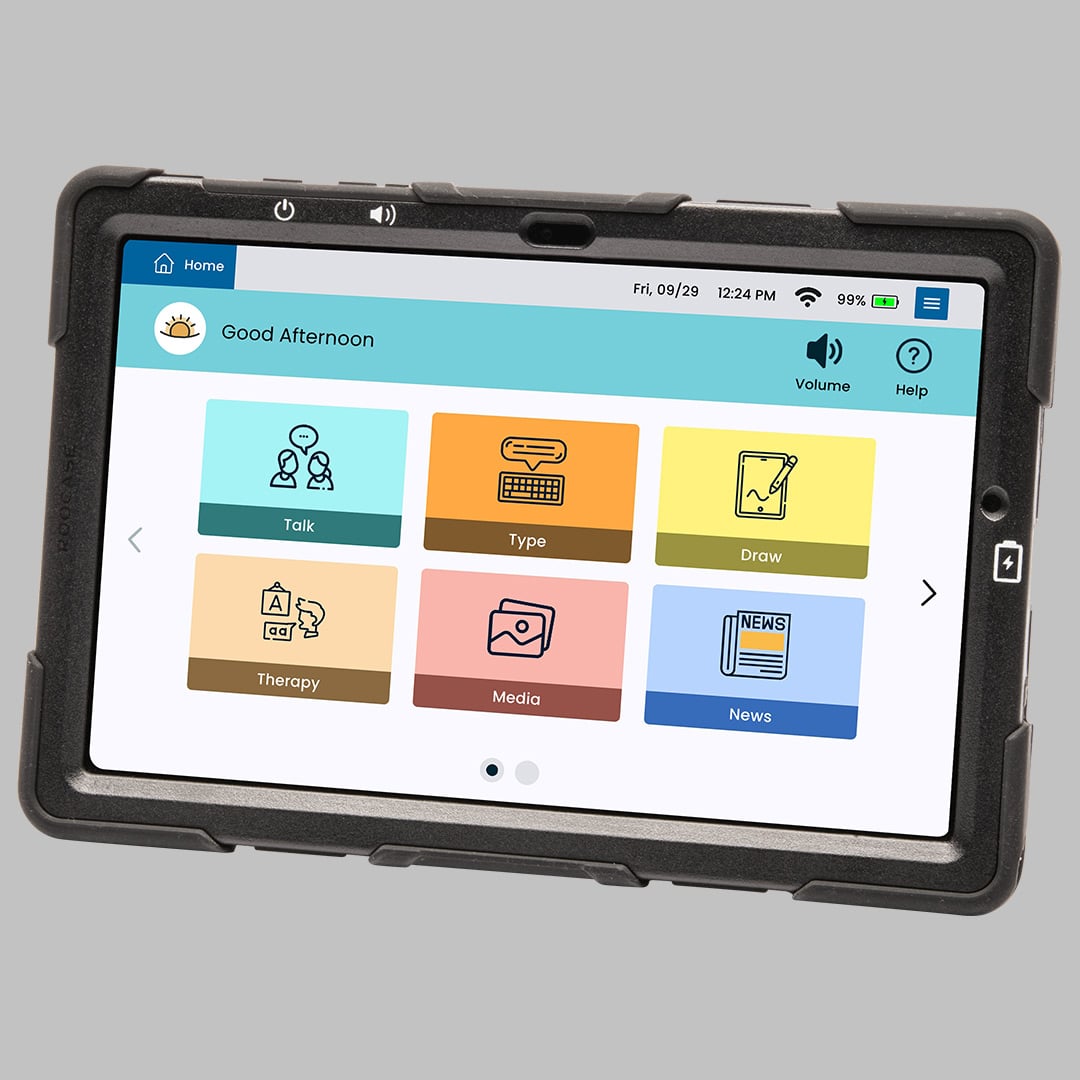
From the Home page select the settings menu button on the top right corner.
Select General Settings on the top left corner.
Profile
Select Profile on the left panel.
Avatar – Choose an image to make your avatar picture.
- Take a Photo – This will open the camera and allow you to take a photo with the device.
- Choose Photo– This will allow you to choose an existing photo from the device.
Name – Add the name you would like to use for your device. To clear the name select the ‘x’.
Date of Birth – Add the user’s date of birth. The date of birth should be entered in a month/day format. For example: July 25th would be 7/25.
Network
Select Network from the left panel. This will allow you to view available Wi-Fi networks, connect to Wi-Fi, view available Bluetooth devices and enable or disable Airplane Mode.
Display
Select Display on the left panel.
Brightness – Adjust screen brightness by moving the toggle button to the right if you want a brighter screen, and left if you want to dim the screen.
Info Bar
Time Format – Select if you would like the time on the info bar set in 12 hour format, 24 hour format, or if you would like to hide the time.
Date Format – Select the format you would like the date to display. Below are the examples:
- Day MM DD – Thu, 04/27
- MM DD – 04/27
- Day MMM DD – Thu, Apr 27
- MMM DD – Apr 27
Please note that the month and day abbreviations are standard and cannot be changed to display the full month or full day.
Battery Percentage – To enable the battery percentage on the device select the toggle button. When the battery percentage is selected and on, the toggle button will display to the right, when the battery percentage is turned off, the toggle button will display to the left.
Sound
Select Sound on the left panel.
Volume – Adjust the device button by moving the slider. Move the button to the left to make the sound lower, and to the right to make the sound louder.
Tap Sound – Toggle on tap sound to enable the tap sound anytime something is selected. When Tap Sound is turned on the toggle button will display to the right, when the setting is turned off the toggle button will display to the left.
Language and Voice
Select Language and Voice on the left panel.
In Menu Language, select English or Spanish. The device will not allow you to select both languages, you will only be able to select one.
In Select Primary voice you will be able to select the voice that you will use for your device to speak.
• Test Voice – This will allow you to listen to the voice you have selected.
• Set Speed – Adjust the voice speed by moving the toggle button. Move the button to the left to make the voice slower, and to the right to make the voice faster. You may use the Test voice option to listen to the voice speed.
Accessories
Select Accessories on the left panel.
Keyboard – Allows you to find and connect a Bluetooth keyboard to the device. To connect a keyboard, select View Available Devices and select the Bluetooth Keyboard from the list.
Mouse – Allows you to find and connect a Bluetooth mouse to the device. To connect a mouse, select View Available Devices and select the Bluetooth mouse from the list.
Cursor Size – Allows you to select the size of the mouse cursor. Select from Small, Medium or Large.
Speakers – Allows you to find and connect a Bluetooth speaker to the device. To connect a speaker, select View Available Devices and select the Bluetooth speaker from the list.
Accessibility
Select Accessibility on the left panel.
Uppercase – Set the all words throughout the whole device in uppercase by selecting the toggle button. When uppercase is turned on the toggle button will display to the right, when the setting is turned off the toggle button will display to the left.
Speak App Names – This will have the device speak the app tile names when selected. When Speak App Names is turned on the toggle button will display to the right, when the setting is turned off the toggle button will display to the left.
Tap Delay – Toggle on tap delay to increase the time needed for button response. When Tap Delay is turned on the toggle button will display to the right, when the setting is turned off the toggle button will display to the left.
Keyboard
Select Keyboard on the left panel.
Select Set Keyboard and select between the Gboard, Samsung Keyboard, or the LG keyboard.
Lingraphica Keyboard
- Type of Keyboard – Select from QWERTY keyboard, or the ABC keyboard which would display keys in alphabetical order.
- Theme – Select the Set Theme button. Select between light, dark or high contrast keyboard. You can preview the keyboard by selecting the keyboard color on the top left.
- Size – Select the Set Size button. Select between small, medium and large fonts. . You can preview the keyboard by selecting the font size on the top left.
- Word Suggestion – Enable word suggestion by selecting the toggle button. When Word Suggestion is selected and on, the toggle button will display to the right, when Word Suggestion is turned off, the toggle button will display to the left.
- Microphone – Enable the keyboard microphone by selecting the toggle button. When the keyboard microphone is selected and on, the toggle button will display to the right, when the keyboard microphone is turned off, the toggle button will display to the left.
- Toolbar – Enable the select, copy and paste options on your keyboard by selecting the toggle button. When the select, copy and paste options is selected and on, the toggle button will display to the right, when the select, copy and paste options is turned off, the toggle button will display to the left.
Pinned App
Select Startup App on the left panel.
Select Pinned App
Select the Startup App from the menu. Once the Startup App is selected the device will automatically open to the desired app. The user will not be able to close the tab for the app at the top of the screen. The app will remain open and available at all times. The user will be able to choose from the following Startup Apps:
- Home – The device will default to the home screen. In this screen users will be able to see all apps available and choose which app to open from there.
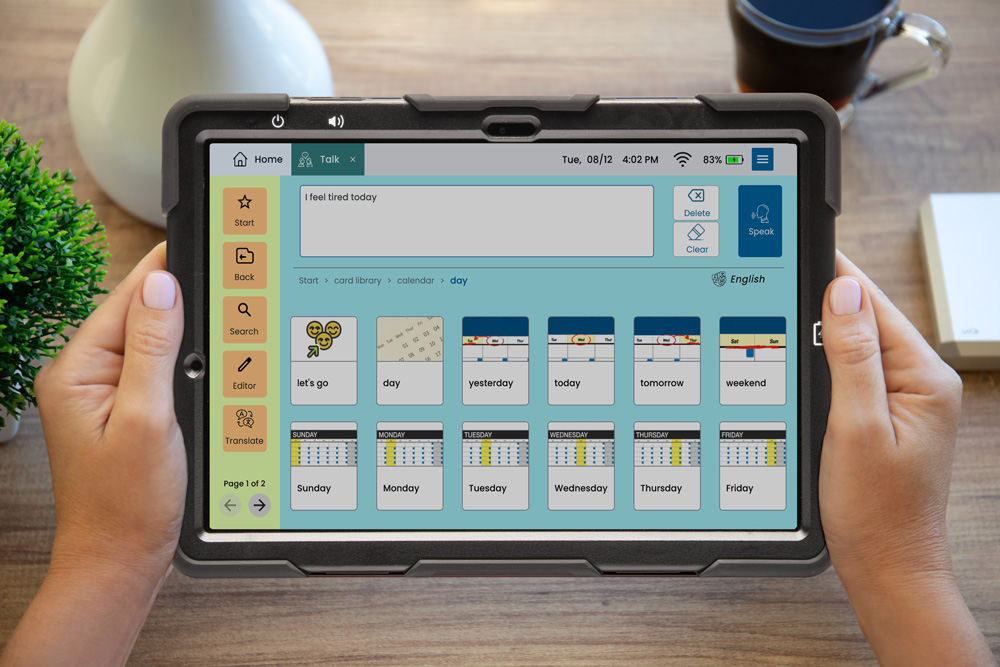
- Talk – The device will default to the talk screen. In this screen users will be able to access cards and folders created. The user will still have access to the home screen by selecting home on the top left of the page.
- Draw – The device will default to the draw screen. In this screen users will be able to access the canvas to draw or create images. The user will still have access to the home screen by selecting home on the top left of the page.
- Type – The device will default to the type screen. In this screen he user will be able to type on the keyboard and have the device speak what has been typed. The user will still have access to the home screen by selecting home on the top left of the page.
- Therapy – The device will default to the therapy screen. In this screen the user will have access to the TalkPath Therapy page and will be able to access the therapy exercises provided in the program. The user will still have access to the home screen by selecting home on the top left of the page.
- News – The device will default to the News page. In this screen the user will have access to the TalkPath News page and will be able to have the device read articles out loud and highlight them as they read. The user will still have access to the home screen by selecting home on the top left of the page.
Device
Select Device on the left panel.
Data Sync- This will provide the last time the device was synced. If you are connected to Wi-Fi the device should sync automatically anytime you make changes. If the device is offline, you will have to connect to Wi-Fi to sync any changes.
Open Advanced Settings – This will take you out of the Hub software and into the device settings. To return to Hub, press the back button (<).
Reset All General Settings – This will reset all the general settings on your device: Profile, Network, Display, Sound, Language and Voice, Accessories, Accessibility, Keyboard, Pinned App, and Device.
Account and Privacy
Select Account and Privacy on the left panel.
Account – This will display which account is currently logged in to the device. To log out from the account select the Log out button at the bottom.
Privacy – This includes our privacy policy about usage and diagnostic information that is shared with Lingraphica. It you would like to opt out of sending us usage and diagnostic information, deselect the check box next to ‘I agree to send usage and diagnostic information to Lingraphica’.
About
Select About on the left panel.
This page will display device information such as Device model, Hub Version, Serial Number, and other identifying information.
Help
Select Help on the left panel.
Help Articles – This will give you access to our Knowledge Base, which includes support articles on how to use your device. To access the Help Articles, select ‘View Help Articles’
Contact Us – Includes the product support phone number and allows you to schedule a Product Support appointment or schedule a Communication Coaching Session. To schedule a Product Support appointment or a Communication Coaching Session select ‘Schedule a Session’
Remote Support- This allows the product support team to connect to your device remotely to make any changes or complete any troubleshooting.
Still Need Help?
Call us now at 888-274-2742, option 5. We are available from Monday to Friday between 8am and 8pm ET. Si, hablamos Español!
You can also click here to schedule an appointment.